


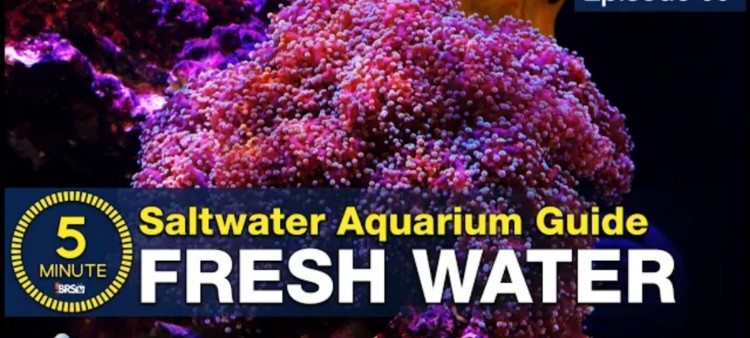
A Guide to Making the Best Water Possible
- Nov 29, 2021
- Anshika Mishra
- 261 0 0
Let's make some proper water, and we are talking about an RO/DI system. Why do we all use it? Is it easy? And how do you get it set up and running?
The wisest thing you will ever hear in reefing is maintaining a stunning reef tank full of corals is just a net result of painting high-quality, stable water. Almost every accessor challenge in reefing is closely related to sound, high-quality water parameters.
So, that said, the water will never be better than what you start with adn why RO/DI systems are so popular. Reverse osmosis, de-ionization, or RO/DI systems are just cool filters that use a series of sediment, carbon membranes, and resins to filter the water to lab-quality, zero TDS water appropriate for our saltwater aquariums.
Even cooler, you can do it with near-zero effort and get RO/DI water at a fish store, or within five to ten minutes, set up three simple hoses, and anyone can do it at home as well.
Problem with Normal Water
The reason why every saltwater aquarium owner uses RO/DI is because our homes taps or well water contains all kind of impurities ranging from disinfectant like:
- Chlorine
- Ammonia
- Phosphate
- Nitrate
- Copper
- Silina
Other metals, from things like aging pipes to all kinds of groundwater pollutants, many of which are not a big deal to humans but can be deadly to fish that essentially breathe water and invertebrates like coral which live in it.
Let's Start
So, let's set up a system for your tank. The most common beginner RO/DI systems are simple BRS 4-stage RO/DI. It will produce zero TDS water, appropriate for reef tanks for everyone, and completely upgradeable down the road.
So, if you ever want to add additional stages or accessories. But, the four-stage 75-gallons per day is all that is necessary for your first tank. With a portable system like this, you have three options. First, you can mount it on the wall in your garage, basement, or whatever room that you make water in. Second, mount it under the sink and store it or bring it out as needed.
The most common option probably be mounted on the wall of basements, laundry rooms, and garages where you can make and store water. So, we will use some toggle bolts and mount them right to the wall, in our case, next to a utility sink.
After its mounted, there are only three hoses; a red one is source water, a black one's wastewater that goes down to the drain, and the blue one is your purified RO/DI water. To connect the red water supply line, unscrew your sink's aerator and replace it with the included diverter valve, which comes with common adaptor rings.
If you have an off-ball faucet, your hardware store will have an adaptor ring for you. Then pop on the red tube, and you are ready to go. When you turn on the cold water to supply water to the system, the small nub will divert water to your RO system. Similar to that, many Utilities sink have garden hose threads. In that case, the piece screw right on.
You can also pink on a permanent attachment right under the sink, either from a hardware store or us. That way, it is totally out of the way.
The black wastewater tube can slide right down the drain and then be taken out when you are done with it or permanently attached to your sink's drain line above the trap.
The blue line goes into whatever container you want to store water in. The most common container is a Rubbermaid Brute trashcan from a big box hardware store.
We strongly suggest picking up a float valve, and the system will turn off automatically when the bin is full. So, no now turn on the cold water on your faucet, flush the filters for a few hours the first time, and now you are ready to produce water for your tank. The system will make 75-gallons a day.
Keep in mind that it is about 3 gallons an hour. So, it is not super fast, but for a 40-gallon tank, you can fill it in half a day or enough water for a water change in an hour or two.
Most people will change the sedimentary filter when it looks dirty and the DI resin when it changes from blue to gold on a tank this size. However, once the gold's about half an inch from the top, it is time to change it out.
Conclusion
This entire setup will not take more than 15 minutes with a few minutes of maintenance a year, and you will be producing water you are confident in. Pretty easy to see why a vast majority of long-term reefers make their own water rather than driving around to get it.


About author