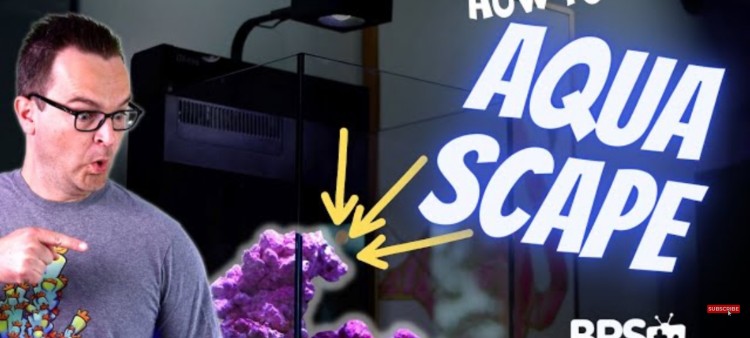
Tips and Tricks for Saltwater Aquarium Aqua scaping
- Sep 11, 2022
- Anshika Mishra
- 255 0 0

You can do something straightforward, like stacking multiple rocks over each other. Or you could get crazily complicated with acrylic rods, overhangs, a ton of super glue, and epoxy. When it's all set and done, only two things matter: does it provide enough habitat for your livestock, and do you like how it looks?
The first step to aqua scaping is visualizing the finished product. You will aquascape an SPS-dominated tank differently than you would aquascape a softy tank. Next, you need to consider what type of corals you plan to add and build your aquascape to support that.
The second step is to choose your rock. When it comes to dry reef rock, there are a few brands out there, and they all work just fine.
Start Building
Now, start by setting up your workspace. Then, you can build a cardboard mock-up using the interior dimensions and blue tape to visualize everything well.
For tool get:
- A hammer
- A Chisel
- Safety Goggles
- Extra Thick Super Glue
- Epoxy
Start by setting up the cardboard mock-up. The interior length and width are 17 by 13 and a half inches, and the height is 16 inches to the overflow. Now cut out two pieces of cardboard and affix them with blue tape to the cabinet stand and the floor.
Using a pencil and the measuring tape, mark the dimensions and then use the blue tape to give yourself an excellent visual for the space. Secondly, set up some cardboard at the tops of those -plastic tubs or some towels all around your workspace, and set all the live rock on top of that.
This way, when building the aquascape, you can sit in the middle and have your reef rock around you for easy access.
Next, separate all your reef rocks by size and by shape. This is challenging for beginners because how do you know which stone to buy in the first place? So, here are a few things to consider.
Size of the Rock
First is the size of the rock. It is better to have small to medium-sized pieces in a minor system because one large part could take up the entirety of the aquascape. But if you only have more significant amounts, you can use that hammer and the chisel to break them into smaller pieces.
Shape
Standard base rock is going to be the most flexible. But you can also get branching rock or shelf rock. On top of that, some human-made pieces such as arches, trees, pedestals, or carob sea life rock shapes come in a whole bunch of cool designs.
Aquascaping
The fourth step is to take a moment to visualize the aquascape you want. This will be a mixed reef tank with a bunch of LPS and soft corals. There has to be an arch for the fish to swim through and empty space up front for many low-light corals.
And then lots of flat or slightly sloped locations to place those corals. Also, have an inch around the entire aquascape for easy glass cleaning.
Now find your base rocks. These rocks will form the foundation and shape of your overall aquascape. These rocks will sit on the sand and provide stability for your aquascape.
The seventh step, start creating the aquascape. Sometimes, it can take hours of frustration, or it can also come together in 30 minutes.
Once done, look at the aquascape from every angle to ensure you are satisfied, and then make any adjustments until you are happy. You can also take pictures while you go throughout the day and leave them out for a couple of hours.
Come back, look at it again, and ensure you are still satisfied. If you are not satisfied, we recommend making some changes now.
Now, start securing the pieces together if they need to be confirmed. Sometimes in the smaller tanks, stacking your rocks will be sturdy enough. But still, connect at least a few of these more tippy pieces together.
The final step is to live it into place. Be careful when lifting it in the tank not to scratch the glass but be extra cautious not to drop it onto the glass. If you decline it, you can crack the bottom panel, and your tank is as good as useless.


About author